Fun with Plastic
I love trying to quilt unusual materials. A lot of quilter’s like to use cotton and cotton is lovely. I like to see what happens. So I try different things like linen, cork , leather or lutrador. I’m still working on that last one. Some things need more experimentation than others. Never did I imagine I would be using my trash, but that’s exactly what I did, last July and August.
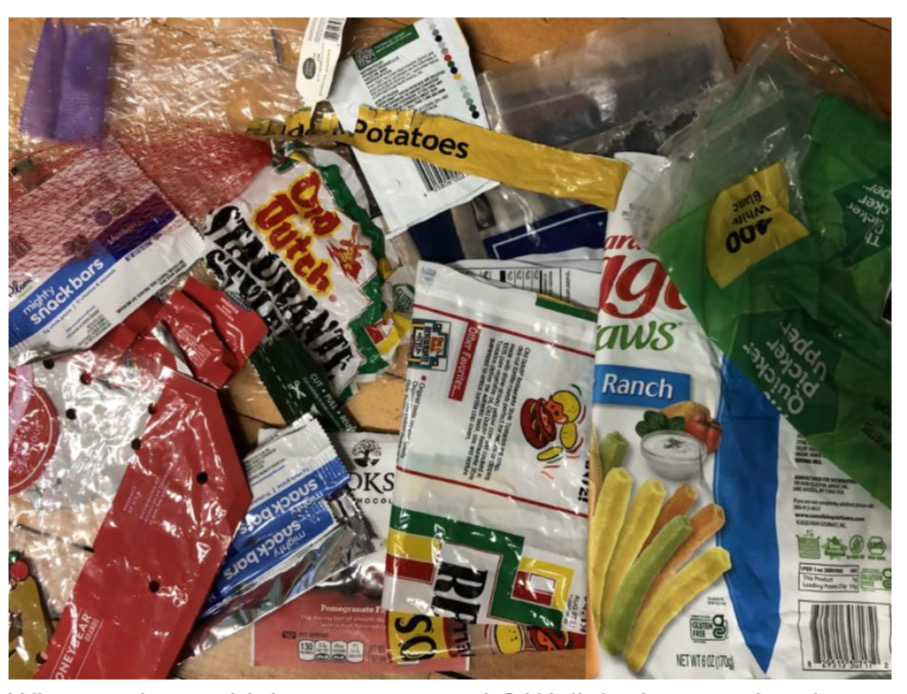
What made me think to use my trash? Well, in January, I took a class from Artist, Natalya Khorover. I took her Art Vision Board Workshop. It was a wonderful class and I thoroughly enjoyed myself. Last summer, she put out a call to help make single-use plastic blooms for her hothouse installation at the Tilly Foster Farm Museum in Putnam County, NY. Of course, I asked myself…how can I do that on my longarm?
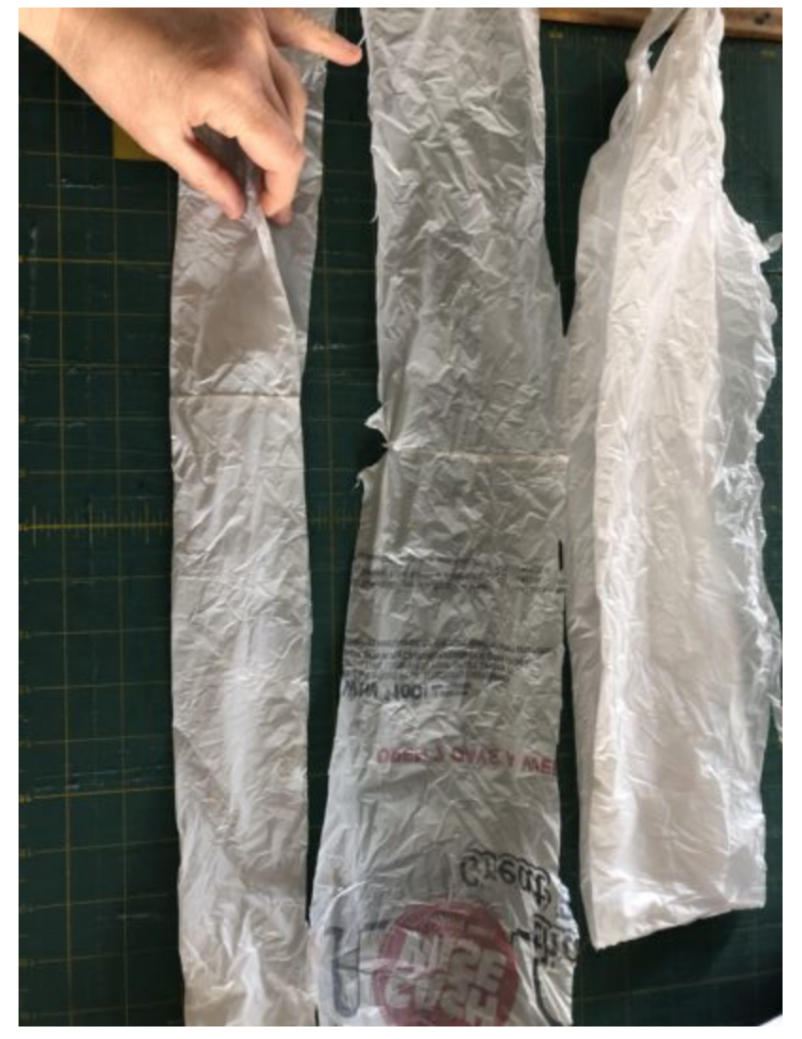
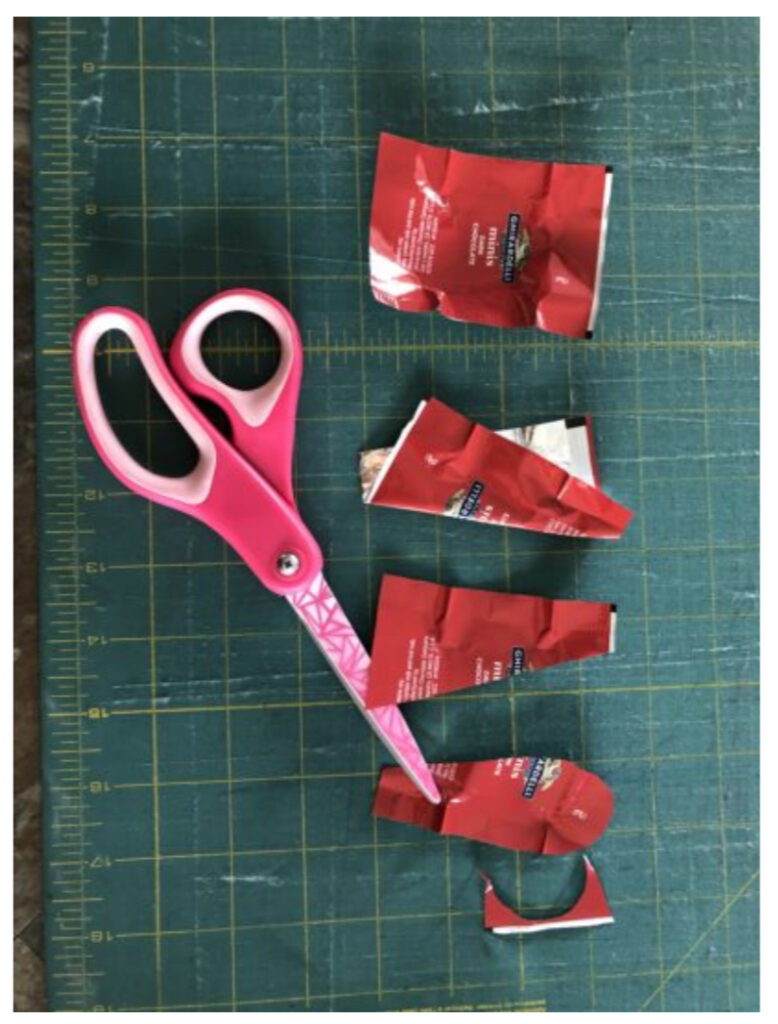
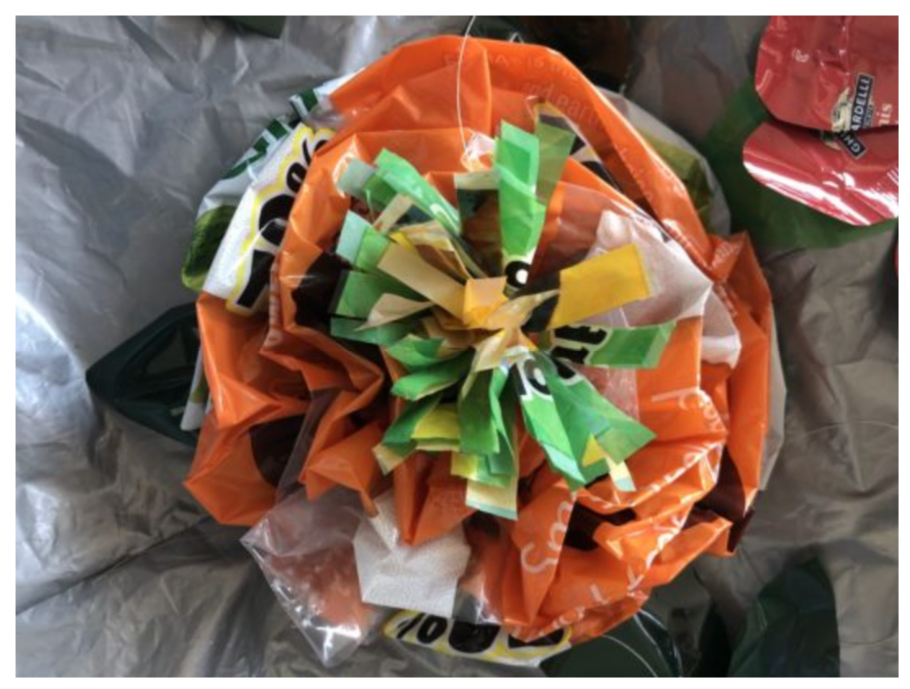
At first, I thought I’ll never find enough materials to work with, but was I wrong. I quickly rounded up a variety of single-use plastic items to use. I cut apart an Amazon shipping bag to use as a base that my flowers were attached to. I cut the plastic into strips that were folded lengthwise or cut into petal shapes that were attached in a circle. Adding elements to the centers with a hand sewing needle and thread was easy to do. I ended up using an outdoor upholstery thread, by Gutterman, on the top with a 40 wt, so fine, in the bobbin. Both polyester threads.
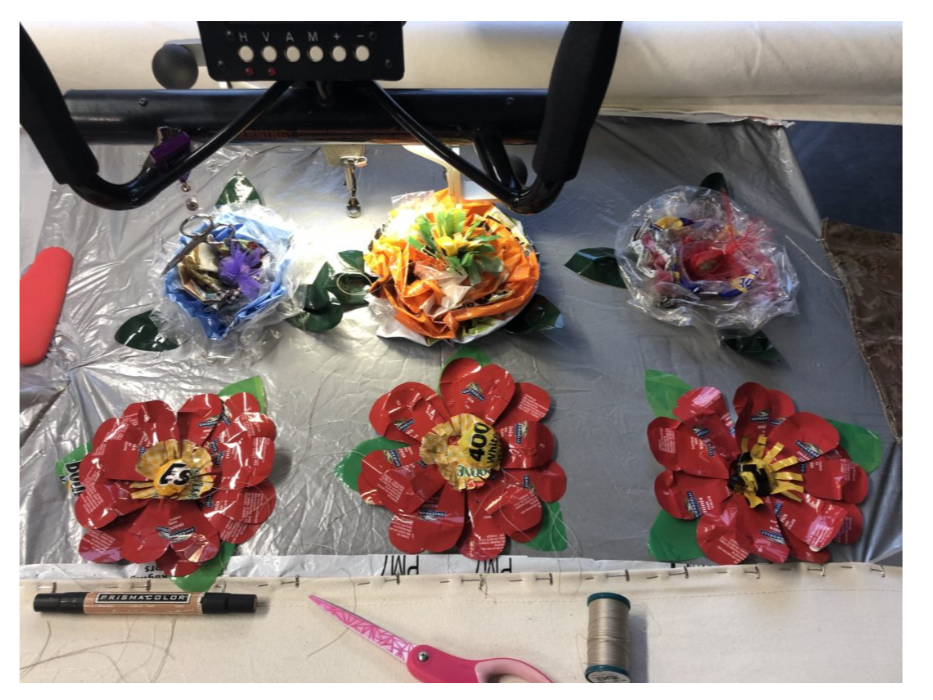
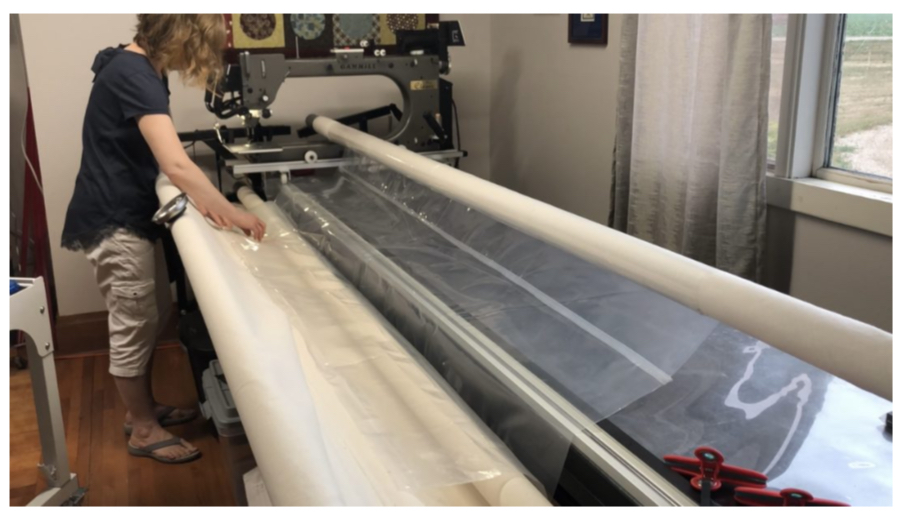
On a zoom call in July, Natalya asked if I thought it would be possible to use a longarm to stitch together plastic sheets to create the hothouse so that the entire installation would be created with single-use plastics. I’d been playing with piecing on the longarm for a while and I had no problem creating the flowers from plastic. I decided that, sure, I thought it could be done. She sent me a layout of her plan and some salvaged plastic sheets. I collected bags from fabric bolts and packaged quilt battings to include. Since any holes made in plastic would be permanent, I decided I needed a 1/4 inch stitch length, at least. I didn’t want the stitching to perforate the plastic sheets. I would be doing the work on my 2006 Gammill and the largest stitch length is about 1/16th of an inch. I decided that it would be best to use the single stitch button and eyeball a 1/2″ stitch length. Using the horizontal channel locks helped to keep the whole works straight. I started pinning a long strip to the longarm leaders. I laid a second long strip along the front edge of the front pins, making sure I wasn’t going to stitch any pins or the leaders into the seam, turned on my horizontal channel locks and stitched about 1/2″ per inch across the strip. then, unpinned and repinned that strip to the front leader. Just to reinforce, I turned on the channel lock again and stitched about 1/2″ per inch across the folded seam. I continued to add strips until the roof section was big enough. I then, turned the roof section and added chunks and strips of plastic until there was enough to cover the sides of the hothouse.
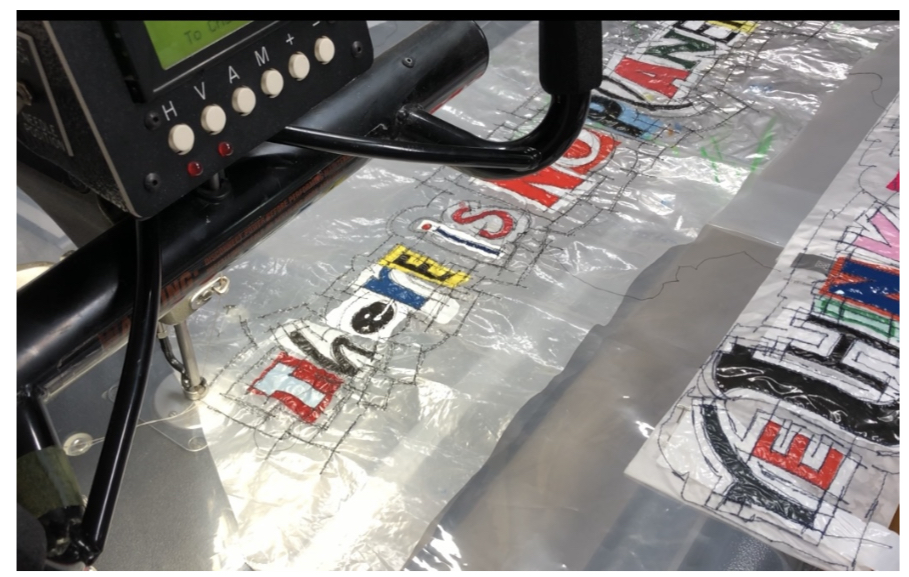
Natalya does some very cool graffitti work with single use plastics and she asked that I add some of these to the sides of the hothouse. This was just a matter of placing the prepared sections of graffitti and stitching around the pieces. The thread I was using was neutral enough, that it didn’t distract from the art.
This was such a fun challenge for me! You can go check out the finished installation at this link here. It’s pretty cool!
https://www.artbynatalya.com/hothouse-installation
Being a part of this, has really opened my eyes to the amount of waste I’m generating. I’ve become far more conscious of things that I’m buying and have started learning about what happens to different materials after I’m done using them. I believe it’s more important than ever to take care of our planet and even doing little things will add up and help us all.
Thanks for following along on my journey!
Debbie
Originally posted on December 19, 2021.
